4.4. Building and Deploying With Jenkins
When to Use It
- When running build and deployment as one combined flow
- When you need run history and an approval process
- When using a defined deployment method such as blue-green or rollback
- When creating the build and deployment setup for a new application in one go
What Jenkins Is
It is a tool that runs several stages in order and keeps a record of them. It is also called a build automation server.
A single unit of work in Jenkins is called a Job. Running a Job executes the defined stages in order, and each run is numbered and recorded.
How It Differs From Building in the Console
| Console (see 4.2) | Jenkins | |
|---|---|---|
| Scope | Build to deploy | Build, deploy, verify, and notify |
| Trigger | When a button is selected | A button, a time, a source change, and others |
| Approval stage | None | Can be added |
| Deployment method | Rolling update | Blue-green, canary, and others |
| History | Kept per build | Kept per Job run and retained longer |
| Preparation | Straight from the screen | Jobs are created in advance |
Both produce the same image. For a simple procedure the Console is faster; for a fixed, repeated procedure Jenkins is better.
Connecting to Jenkins
Open the Jenkins address in a browser. Ask your installation staff for the address, or go there from the Tools menu in the Console (see 9.3).
It uses the same integrated authentication as the Console, so if you are already signed in to the Console you enter without a separate sign-in.
The Job List
On connecting, the list of registered Jobs appears.
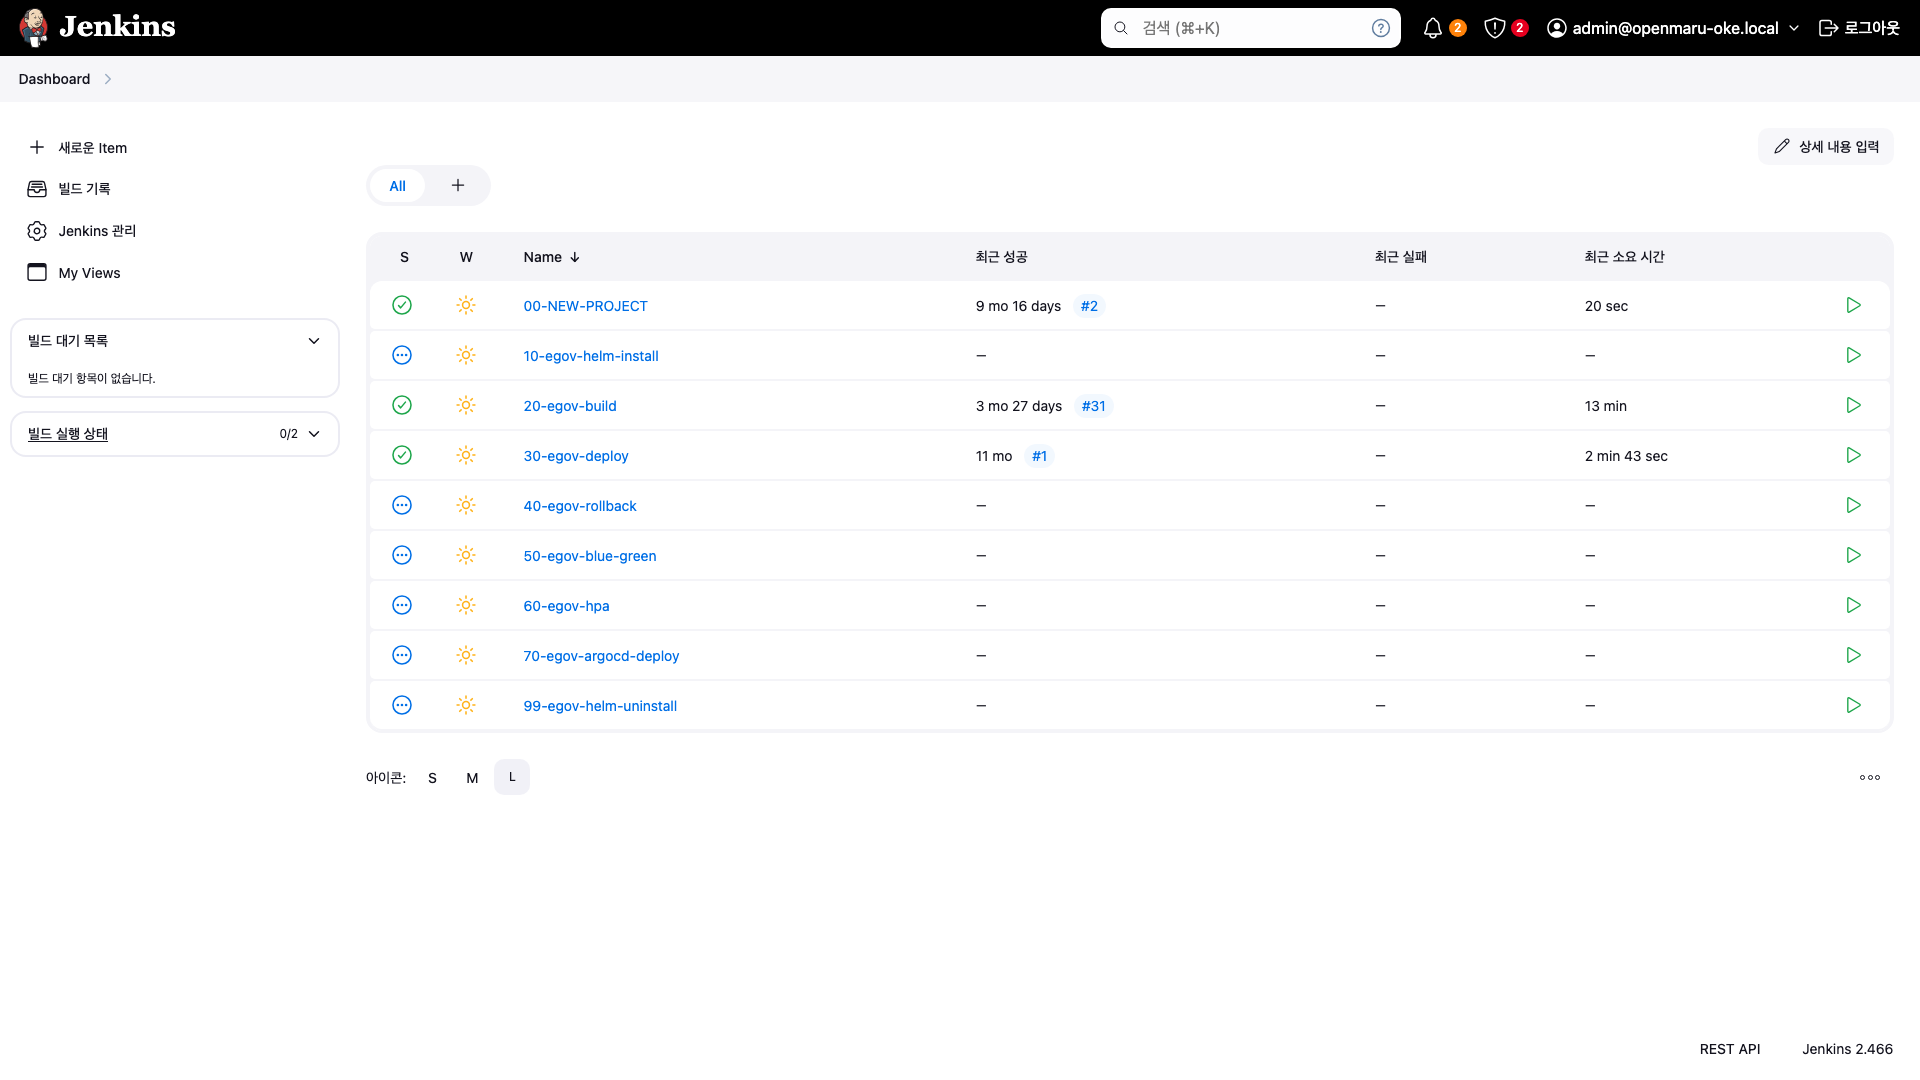
The Jobs prepared in advance for the eGovFrame sample are as follows.
| Job | What it does |
|---|---|
00-NEW-PROJECT | Creates the build and deploy Jobs for a new application in one go |
10-egov-helm-install | Performs the first installation with a Helm chart (see 9.1) |
20-egov-build | Builds the source with S2I and pushes the image to the registry |
30-egov-deploy | Deploys the created image to the cluster |
40-egov-rollback | Returns to the previous version |
50-egov-blue-green | Switches over using the blue-green method |
60-egov-hpa | Runs a deployment with autoscaling applied (see 3.5) |
70-egov-argocd-deploy | Deploys through ArgoCD |
99-egov-helm-uninstall | Removes what was installed |
The leading numbers indicate the run order. For a first installation, proceed 10, then 20, then 30.
The marker on the left of each row is the last run result. A green check means success and red means failure. Selecting the run button at the far right runs it immediately.
Creating a New Project
When adding a new application, run the 00-NEW-PROJECT Job.
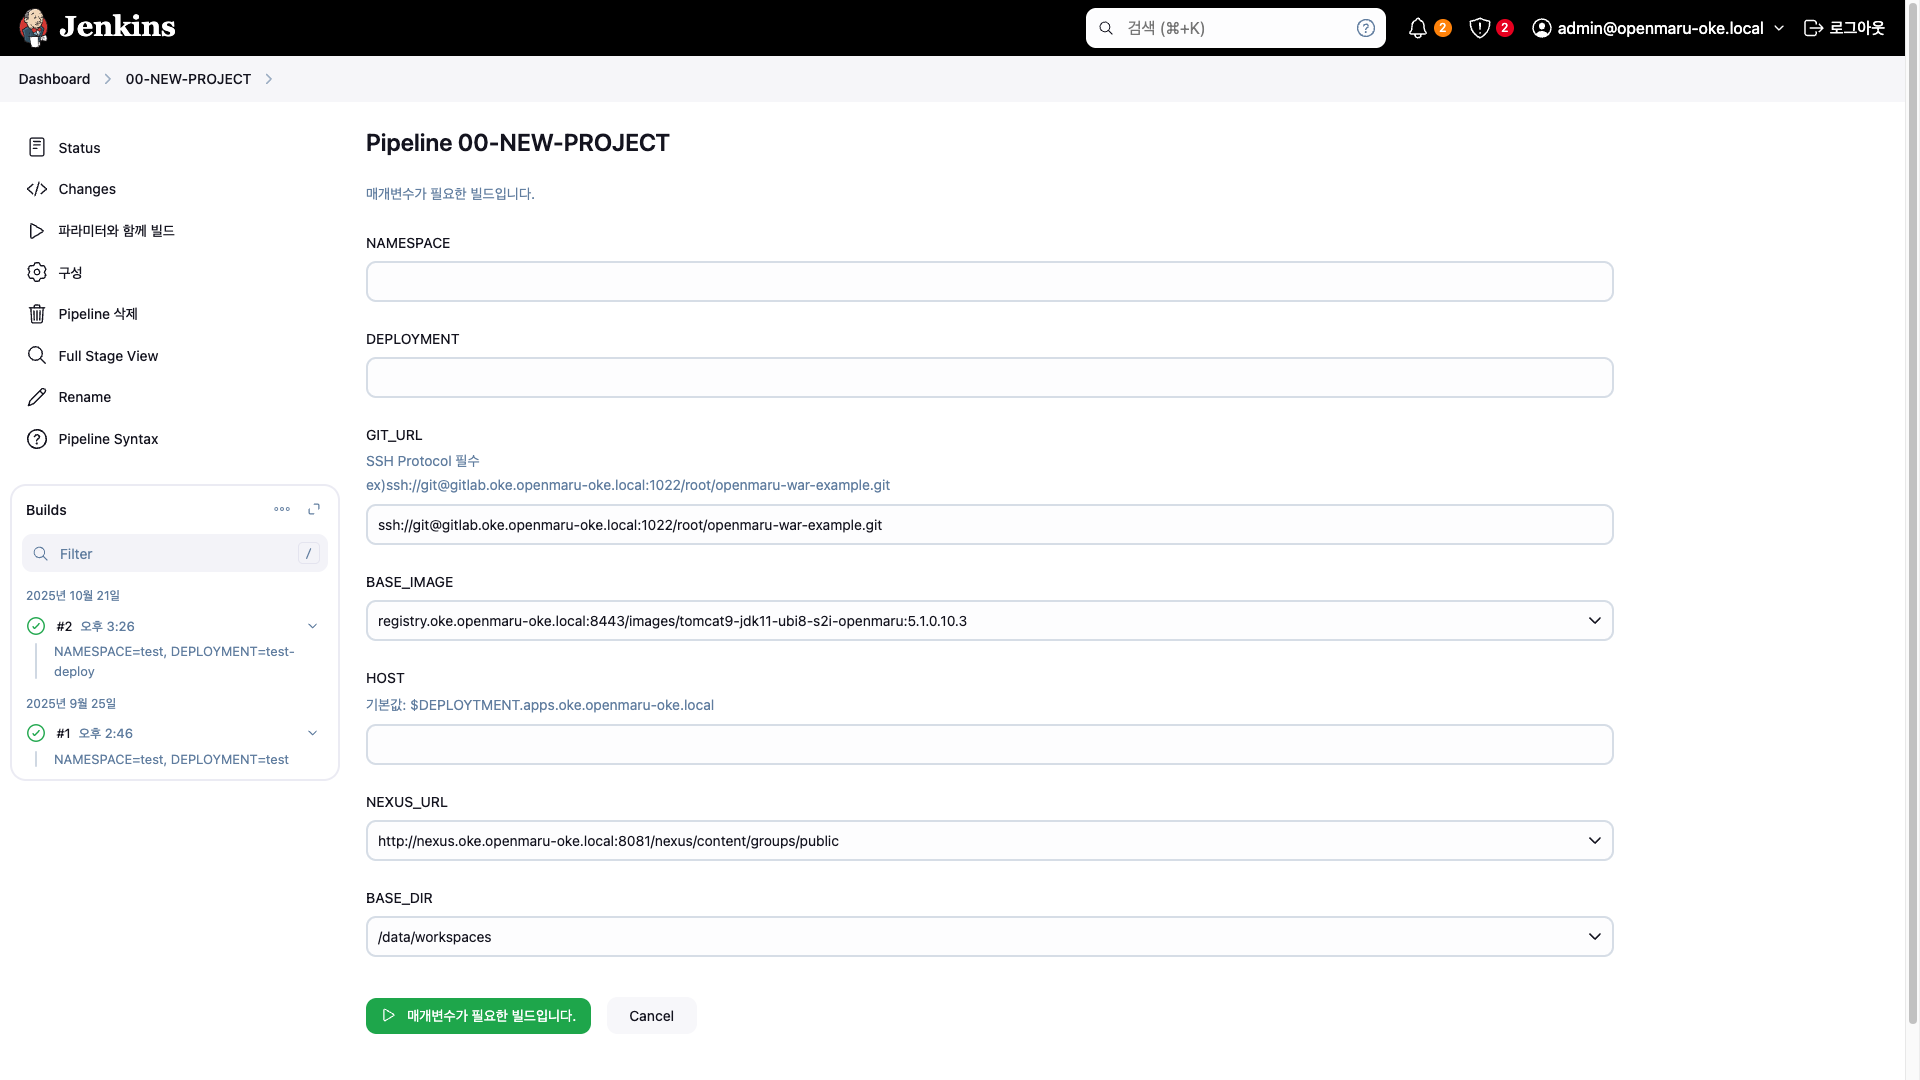
The input fields are as follows.
| Field | Description | Example |
|---|---|---|
| NAMESPACE | The namespace to deploy to. Created if absent | egov |
| DEPLOYMENT | The application deployment name | homepage |
| GIT_URL | The Git repository address of the source to build | http://gitlab.../app.git |
| BASE_IMAGE | The base image for the S2I build and runtime | openjdk17, tomcat9 |
| HOST | The external access address | homepage-egov.apps... |
| NEXUS_URL | The internal library repository address | http://nexus...:8081 |
Maven and Gradle are supported as build tools.
Running it creates the following automatically.
| Area | What is created |
|---|---|
| Kubernetes | Namespace, Deployment, Service, Ingress |
| Jenkins | A build Job and a deploy Job dedicated to that application |
You only have to run it once. After that, you use the build and deploy Jobs it created.
You can check the connections between the created resources on the Map screen in the Console (see 2.2).
Running the Build Job
Select 20-egov-build and run it.
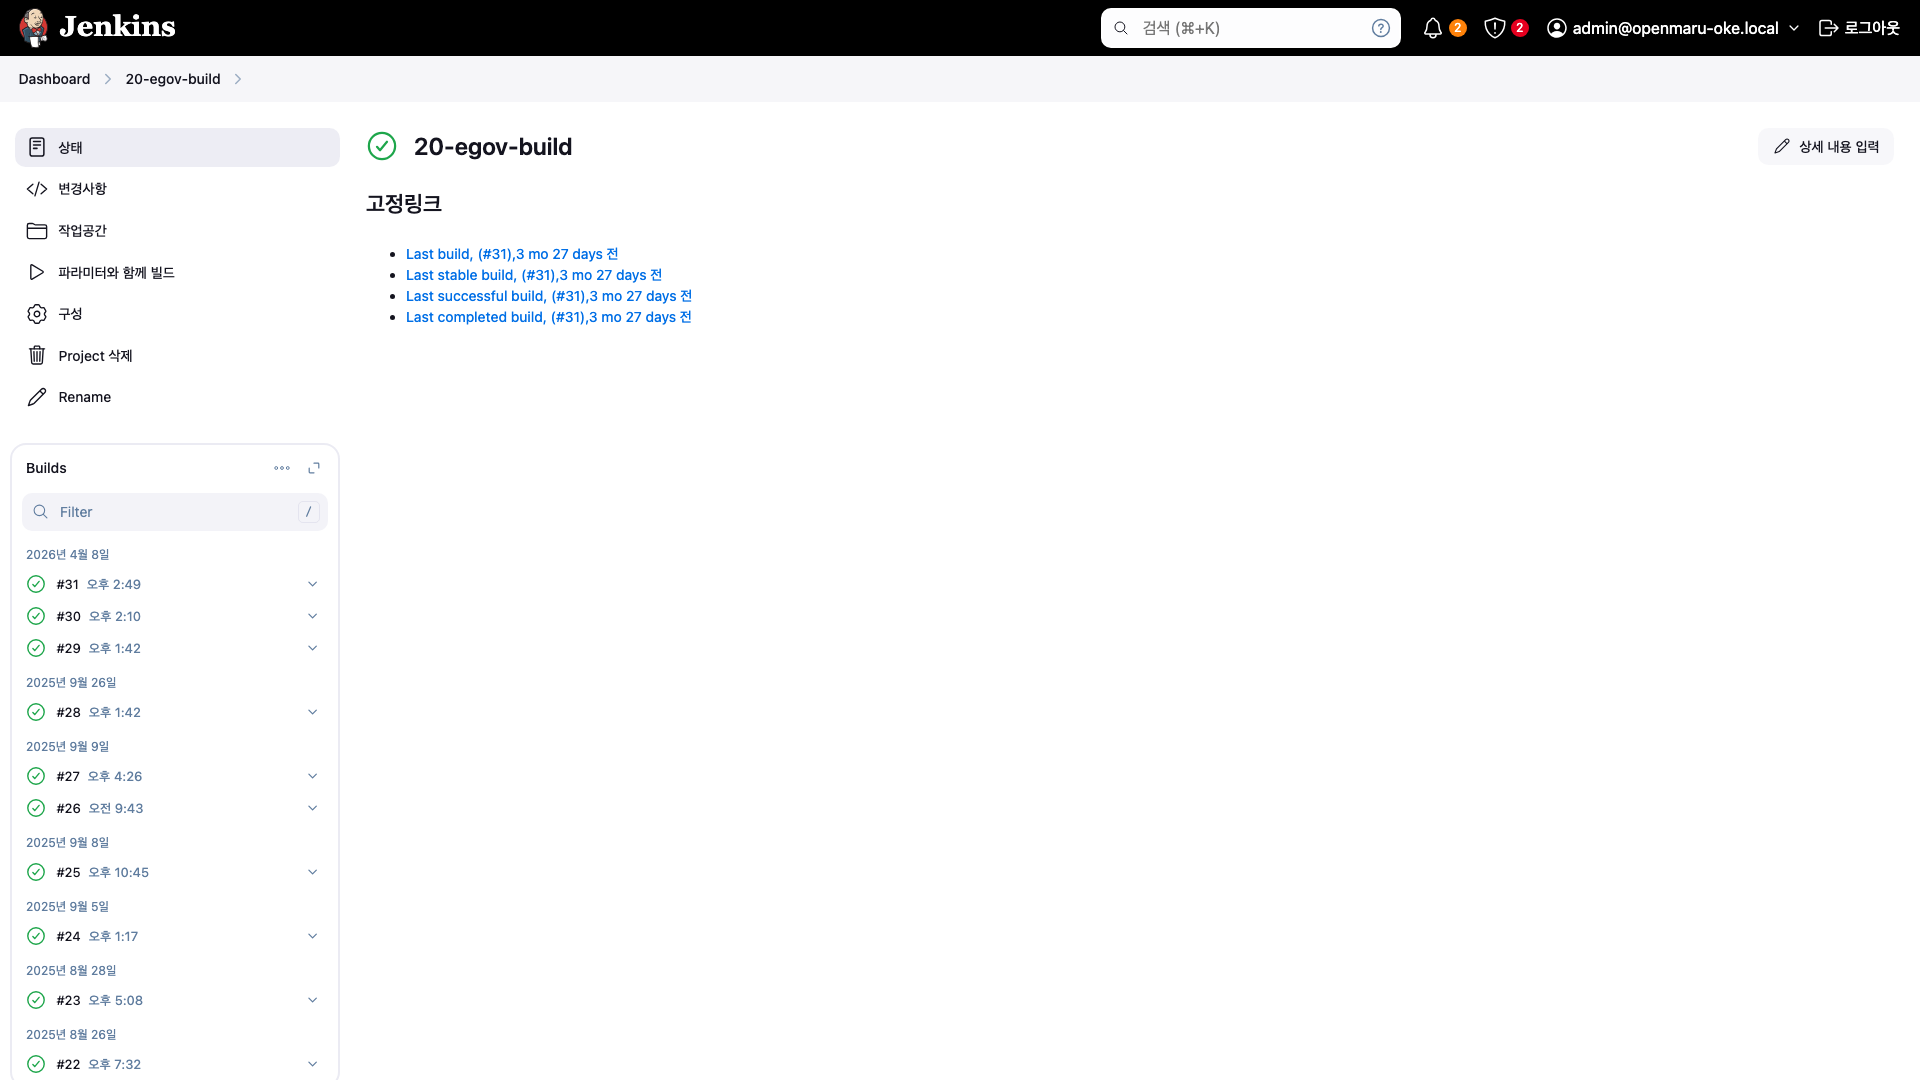
Running it proceeds in this order.
- Fetches the latest source from the Git repository.
- Compiles it with S2I and creates a container image.
- Pushes the image to the registry (Harbor).
Selecting a run number in Build History at the bottom left shows the console output (log). A build in progress continues live.
Failed runs keep a red marker. Select that number and look at the end of the log.
Running the Deploy Job
Once the build finishes, run 30-egov-deploy.
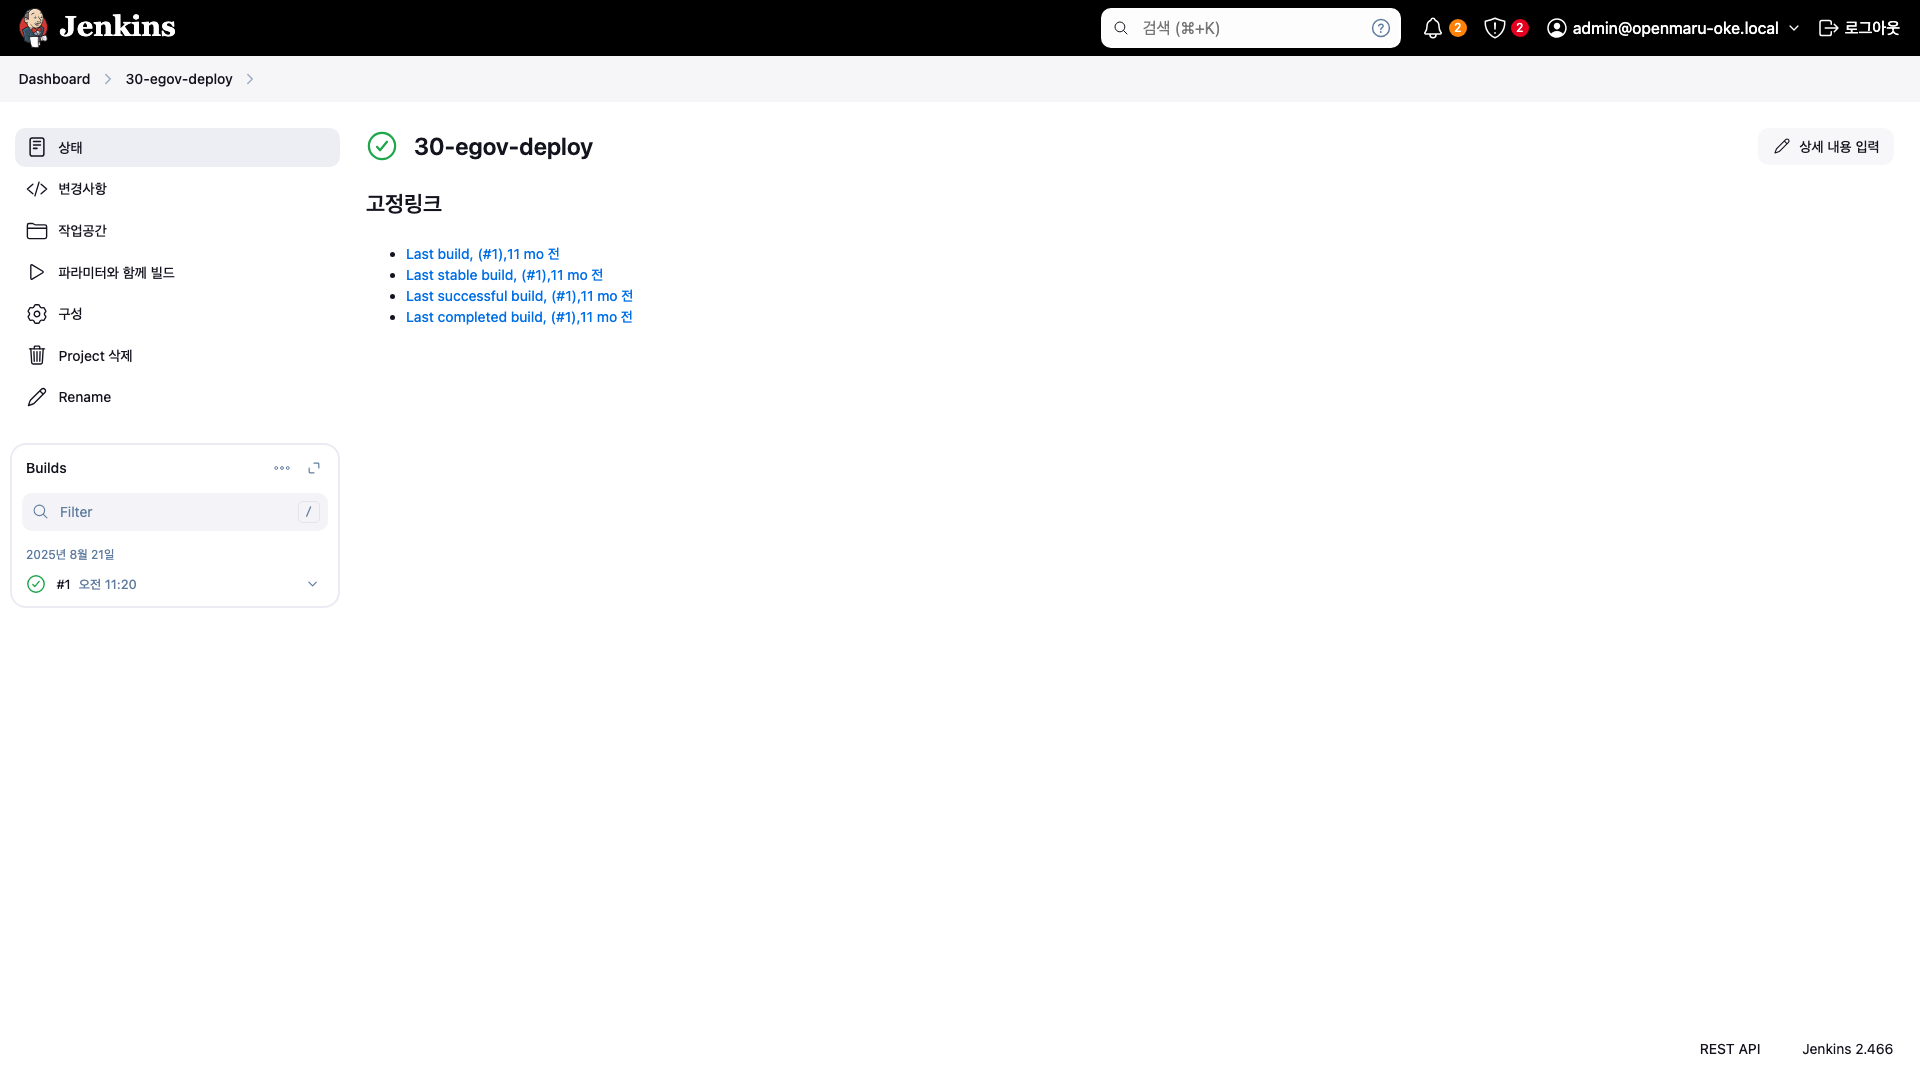
The deploy Job applies the pushed image to the cluster's Deployment and waits until the new pods start successfully. If pods do not start, the Job also ends in failure, so the Job result alone tells you whether the deployment succeeded.
Choosing a Deployment Method
| Job | Method | Characteristic |
|---|---|---|
30-egov-deploy | Rolling update | Replaces one at a time. The default |
50-egov-blue-green | Blue-green | Brings up the whole new version first, then shifts traffic at once |
70-egov-argocd-deploy | GitOps | Deploys based on definitions in the Git repository |
Blue-green does not interrupt the service during the switch, and it can be reverted immediately if a problem appears. In exchange, it needs twice the resources during deployment.
Checking the Deployment Result
Once the deployment finishes, check it in the Console.
| What to check | Where |
|---|---|
| Whether pods started | Workloads > Pods (see 3.1) |
| Whether the replica count is right | Workloads > Deployments (see 3.2) |
| The deployed image tag | The containers on the deployment detail |
| The external access address | Network > Ingresses (see 5.1) |
| Resource connections | Map (see 2.2) |
Open the address shown on the Ingress in a browser and confirm that the application responds.
When a Repository Cannot Be Created — The Automation Token
Symptom: Creating a new project in Jenkins fails to create the repository, while git push to an
existing repository works normally.
Creating a repository and pushing code use different credentials. Repository creation uses the
automation token while git push uses an SSH key, so a problem with only the token makes only
some things fail. Nothing stops entirely, which makes the cause hard to find.
What to do: Replacing the token is the operator's job. Report the symptom along with:
- which project failed
- whether
401 Unauthorizedappears on the screen or in the log
After a new token is issued, anywhere you entered that token yourself has to be updated. These two are the common ones.
| Where to check | How |
|---|---|
| Repositories with the token in the Git remote address | Check with git remote -v. If the address contains a token, change it to the SSH address |
| Tokens entered into other CI tools or scripts | Replace them with the new value |
Use SSH in remote addresses rather than a token. Putting a token in an HTTP address leaves it in the repository's configuration file, so every copy has to be found and fixed each time the token changes.
Rolling Back
There are two ways to roll back.
| Method | Characteristic |
|---|---|
The 40-egov-rollback Job | The rollback is recorded in the Jenkins history |
| Deployment History in the Console | Choose a revision on screen and revert (see 3.2) |
If you deployed with Jenkins, it is better to roll back with Jenkins. History stays in one place, which makes it easier to trace what happened later.
The Console is faster when you are in a hurry. However, that revert is not recorded in the Jenkins history, so deploying again from Jenkins later can return you to the state before the revert.