1.1. Introducing the Console and Signing In
When to Read This Chapter
Read this when you connect to the Console for the first time, or when you want to learn where things are on screen. Individual features are covered in their own chapters.
Kubernetes and the Console
Kubernetes is a system that groups several servers together to run and manage containers. When you declare "this is the state I want", Kubernetes keeps adjusting to maintain that state. If a pod terminates it starts a new one; if a node goes down it moves the workload to another node.
Every declaration and adjustment goes through the API server. The command-line tool (kubectl) and the Console
call the same API. The Console is that API wrapped in a screen.
So what you do in the Console produces the same result as doing it from the command line, and changes made from the command line show up in the Console right away.
What You Can Do With the Console
| Area | What you do | Chapter |
|---|---|---|
| Checking status | Cluster resource usage, pod and node status, events | 2.1 |
| Managing workloads | Viewing and editing pods, Deployments, and Jobs; logs; web terminal | 3.1 |
| Building and deploying | Building images from source (S2I), installing Helm charts | 4.2, 9.1 |
| Networking and storage | Configuring Services and Ingresses, checking volume claims | 5.1, 6.1 |
| Security | Setting access permissions, managing user groups, checking certificates | 7.1 |
Connecting and Signing In
Open the Console address in a browser. Ask your installation staff for the address.
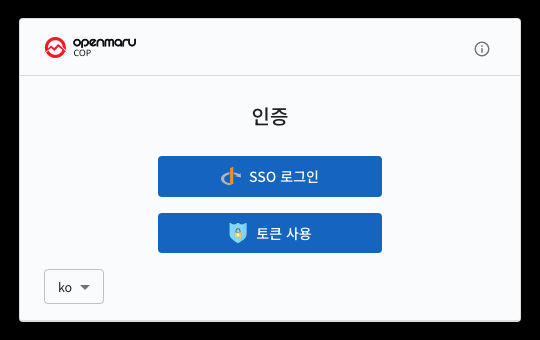
Opening any address while signed out brings you to this screen. After you sign in, you continue to the screen you originally requested.
You can change the display language in the language selector at the bottom left of the screen.
Two Authentication Methods
| Button | Description | When to use it |
|---|---|---|
| Sign In with SSO | Goes to the integrated authentication server and signs in with your account | This is the usual method |
| Use A Token | Pastes a service account token directly | Temporary checks, automation accounts |
Selecting Sign In with SSO opens a new authentication window. Enter your account and password, and once you sign in the window closes and you enter the Console.
Kubernetes itself has no resource called a "user". Users are managed by an external authentication server, and Kubernetes receives only the user name and groups carried in the authentication result to decide permissions. So creating and removing accounts is done on the authentication server, not in the Console (see 7.2).
Screen Layout
After signing in, the overview screen appears.
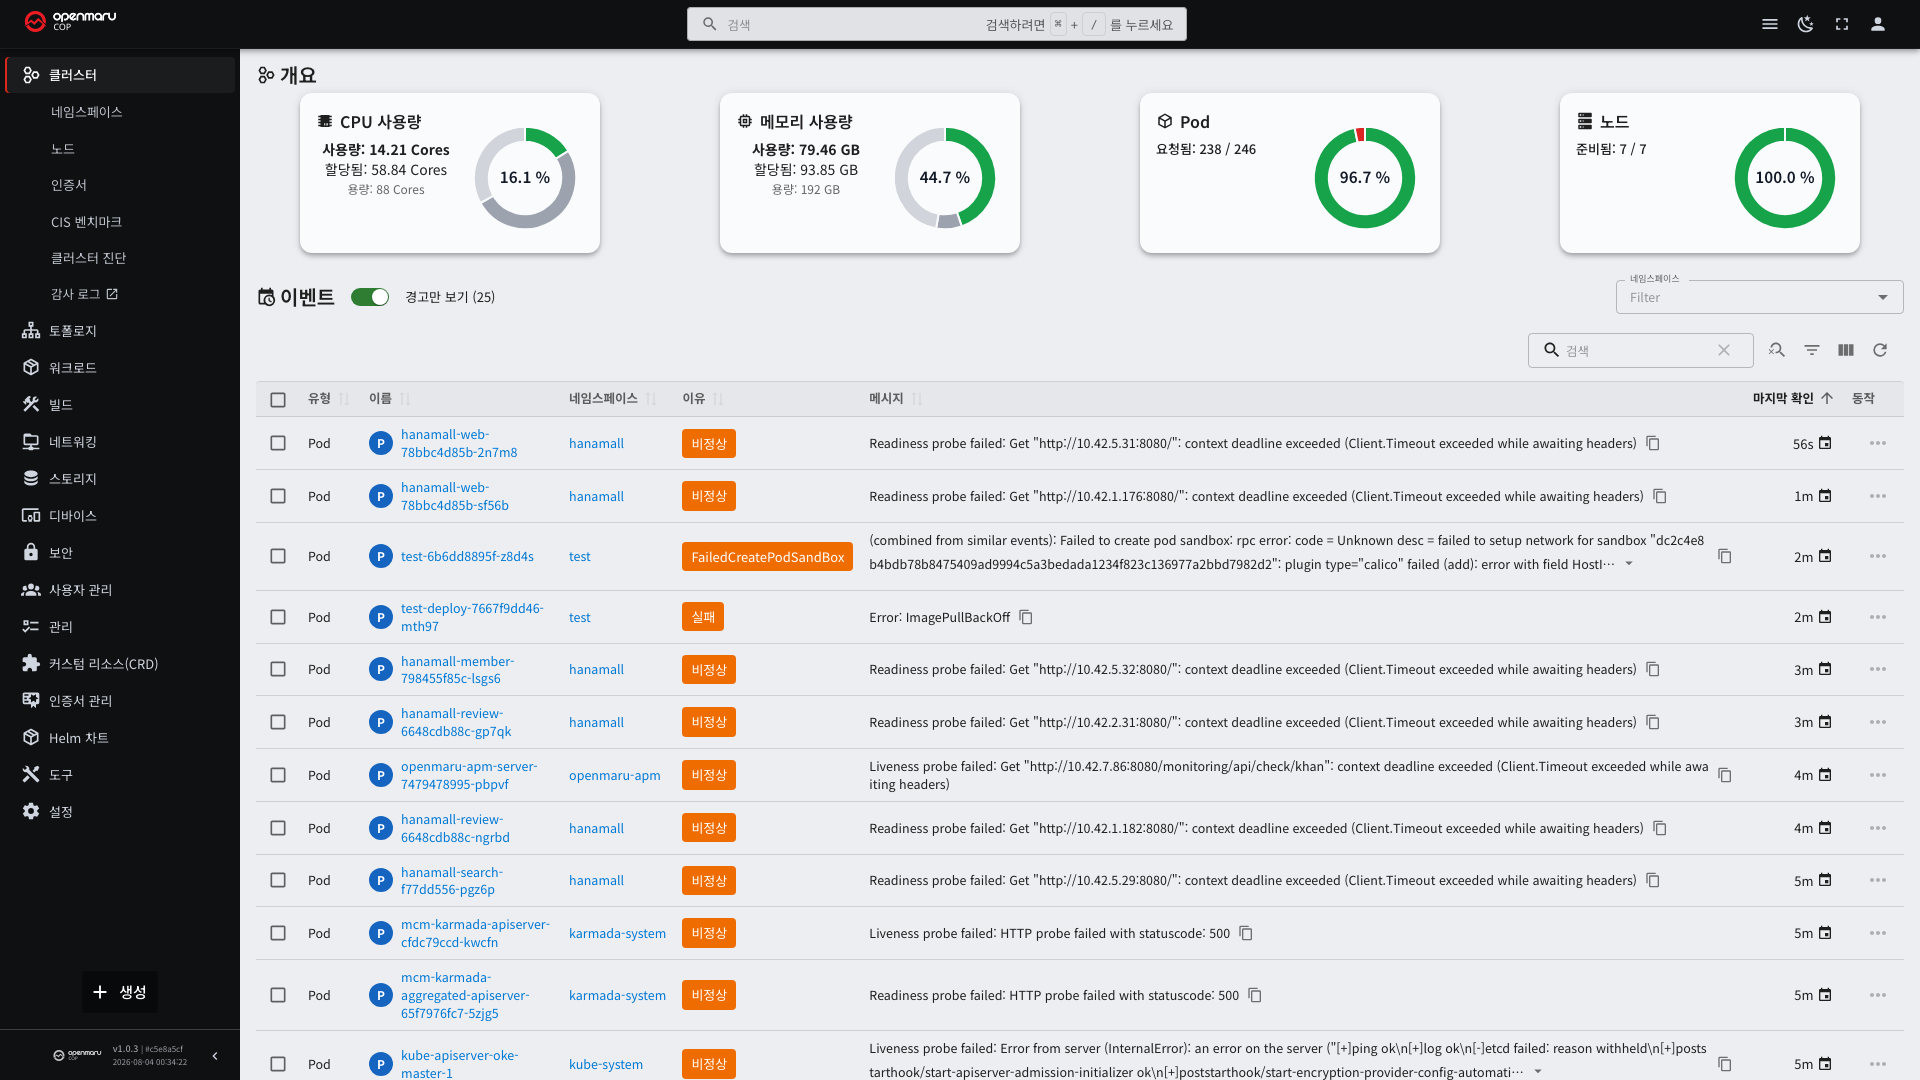
The screen has three areas.
| Area | Position | Contents |
|---|---|---|
| Top bar | Top of the screen | Product logo, global search, display settings, account menu |
| Left menu | Left side | Feature categories |
| Main area | Center | The list or detail for the selected menu |
Left Menu Structure
Menus are grouped by the nature of the resource.
| Menu | What it holds | Chapter |
|---|---|---|
| Cluster | Namespaces, Nodes, Certificates, CIS Benchmark, Cluster Diagnostics | 2.1 |
| Map | Resource relationship diagram | 2.2 |
| Workloads | Pods and the controllers that manage them | 3.1 |
| Build | Build configurations and build history | 4.2 |
| Network | Services, Ingresses, network policies | 5.1 |
| Storage | Volume claims and the actual storage | 6.1 |
| Devices | Special devices such as GPUs | 8.3 |
| Security | Service accounts, roles, role bindings | 7.1 |
| User Management | Permissions for users and groups | 7.2 |
| Configuration | Resource limits, priorities, webhooks | 8.1 |
| Custom Resources | Resources added by extensions | 8.2 |
| Cert-manager | cert-manager certificates | 7.3 |
| Helm Charts | Releases and repositories | 9.1 |
| Tools | Links to external systems | 9.3 |
| Settings | Display settings | 9.4 |
The Create button below the menu lets you create a resource by entering YAML directly. The product version and build time appear at the very bottom.
Top Bar
| Element | Role |
|---|---|
| Product logo | Returns to the overview screen |
| Search box | Finds resources by name regardless of resource type |
| List-shaped icon | Collapses and expands the left menu |
| Moon or sun shape | Switches between the light and dark screen |
| Square shape | Switches to full screen |
| Person shape | Account information and sign-out |
Global search can be focused directly with Ctrl + / (⌘ + / on macOS). It is useful when you do not know which menu
a resource is under.
Menus Differ by Permission
The Console hides menus for resources you cannot view. So the menu layout can differ from person to person.
If a menu mentioned in this document is not on your screen, you do not have permission to view that resource. Ask your operations staff for permission if you need it (see 7.2).