4.1. OPENMARU COP CLI
OPENMARU COP uses the standard kubectl and helm CLIs. A distinguishing point is that the pure Kubernetes ecosystem tools can be used as they are, with no dedicated CLI of its own.
kubeconfig Setup
kubectl and helm authenticate through a kubeconfig file holding the cluster connection information. A default kubeconfig is created on the Master nodes when the cluster is installed.
# The default kubeconfig location on a Master node (RKE2)
export KUBECONFIG=/etc/rancher/rke2/rke2.yaml
# Or the location the installation script placed it in separately
export KUBECONFIG=/root/.kube/config

# Check the connection
kubectl cluster-info
kubectl get nodes
To connect from a remote machine (a developer PC, for example), copy the kubeconfig file from a Master node locally and set the server address to the actual API server domain (https://api.{sub_domain}.{domain}.{TLD}:6443). For continued use, adding an export KUBECONFIG=... line to ~/.bashrc or similar is recommended.
ℹ️ Note: When several clusters are registered in the OPENMARU COP Console, a separate kubeconfig exists for each cluster. Always confirm the target cluster before running a command.
Basic Helm Commands
# Register and update the repository
helm repo add openmaru http://chartmuseum.{sub_domain}.{domain}.{TLD}:8181
helm repo update

# Search for charts
helm search repo openmaru

# Install
helm install <release> openmaru/<chart> -n <namespace> --create-namespace -f values.yaml

# Upgrade / roll back
helm upgrade <release> openmaru/<chart> -n <namespace> -f values.yaml
helm rollback <release> <revision> -n <namespace>

# Query
helm list -A
helm status <release> -n <namespace>
helm history <release> -n <namespace>

# Delete
helm uninstall <release> -n <namespace>
⚠️ Caution: Do not run
helm upgradeorhelm rollbackdirectly on a release managed by ArgoCD (GitOps). With auto-sync and self-heal configured, it is reverted immediately to match the Git repository and the change is undone. In that case, edit the Git manifest and apply it withargocd app sync, or useargocd app rollback.
Viewing Pod Logs
# Basic log query
kubectl logs -n <namespace> <pod-name>

# Live streaming (follow)
kubectl logs -n <namespace> <pod-name> -f

# The log of the previous container (before a restart)
kubectl logs -n <namespace> <pod-name> --previous

# The last 100 lines only
kubectl logs -n <namespace> <pod-name> --tail=100

# The last hour of logs only
kubectl logs -n <namespace> <pod-name> --since=1h

# The log of a particular container in the pod (multi-container pods)
kubectl logs -n <namespace> <pod-name> -c <container-name>
Connecting into a Pod
# Interactive shell
kubectl exec -it <pod-name> -n <namespace> -- bash

# For images without bash
kubectl exec -it <pod-name> -n <namespace> -- sh

# Specifying a container in a multi-container pod
kubectl exec -it <pod-name> -n <namespace> -c <container-name> -- bash
ℹ️ Note: The same thing can be done straight from a web browser in the OPENMARU COP Console, with the Terminal button on the pod detail screen.
Deleting an Unhealthy Pod
# Delete a particular pod (it is recreated automatically if a ReplicaSet or Deployment owns it)
kubectl delete pod <pod-name> -n <namespace>

# Delete immediately without a graceful shutdown (a last resort)
kubectl delete pod <pod-name> -n <namespace> --grace-period=0 --force

# List all pods that are not Running and judge each one
kubectl get pods -A | grep -v Running
⚠️ Caution: The
--forceoption deletes the pod immediately without it being cleaned up properly, so use it carefully on workloads where data consistency can be affected.
Finding the Node of a Running Pod
kubectl get pod <pod-name> -n <namespace> -o wide
The NODE column shows the node the pod is running on.
Checking Pod Information per Node
# The pods running on a particular node
kubectl get pods -A -o wide --field-selector spec.nodeName=<node-name>

# Node details (allocated resources, conditions, and so on)
kubectl describe node <node-name>

# Resource usage across all nodes
kubectl top nodes
Applying SSL to an Application
To apply TLS to an application, connect a TLS secret to the Ingress.
# A certificate issued automatically through cert-manager creates its secret automatically.
# To register a certificate and key manually:
kubectl create secret tls my-app-tls \
  --cert=my-app.crt --key=my-app.key \
  -n <namespace>
apiVersion: networking.k8s.io/v1
kind: Ingress
metadata:
  name: my-app
  namespace: my-app
  annotations:
    cert-manager.io/cluster-issuer: "letsencrypt-prod"
spec:
  tls:
    - hosts: ["my-app.{domain}"]
      secretName: my-app-tls
  rules:
    - host: "my-app.{domain}"
      http:
        paths:
          - path: /
            pathType: Prefix
            backend:
              service:
                name: my-app
                port:
                  number: 8080
When using cert-manager, configuring a ClusterIssuer in advance (Let's Encrypt or an in-house CA, for example) means the certificate is issued and renewed automatically simply by creating the Ingress.
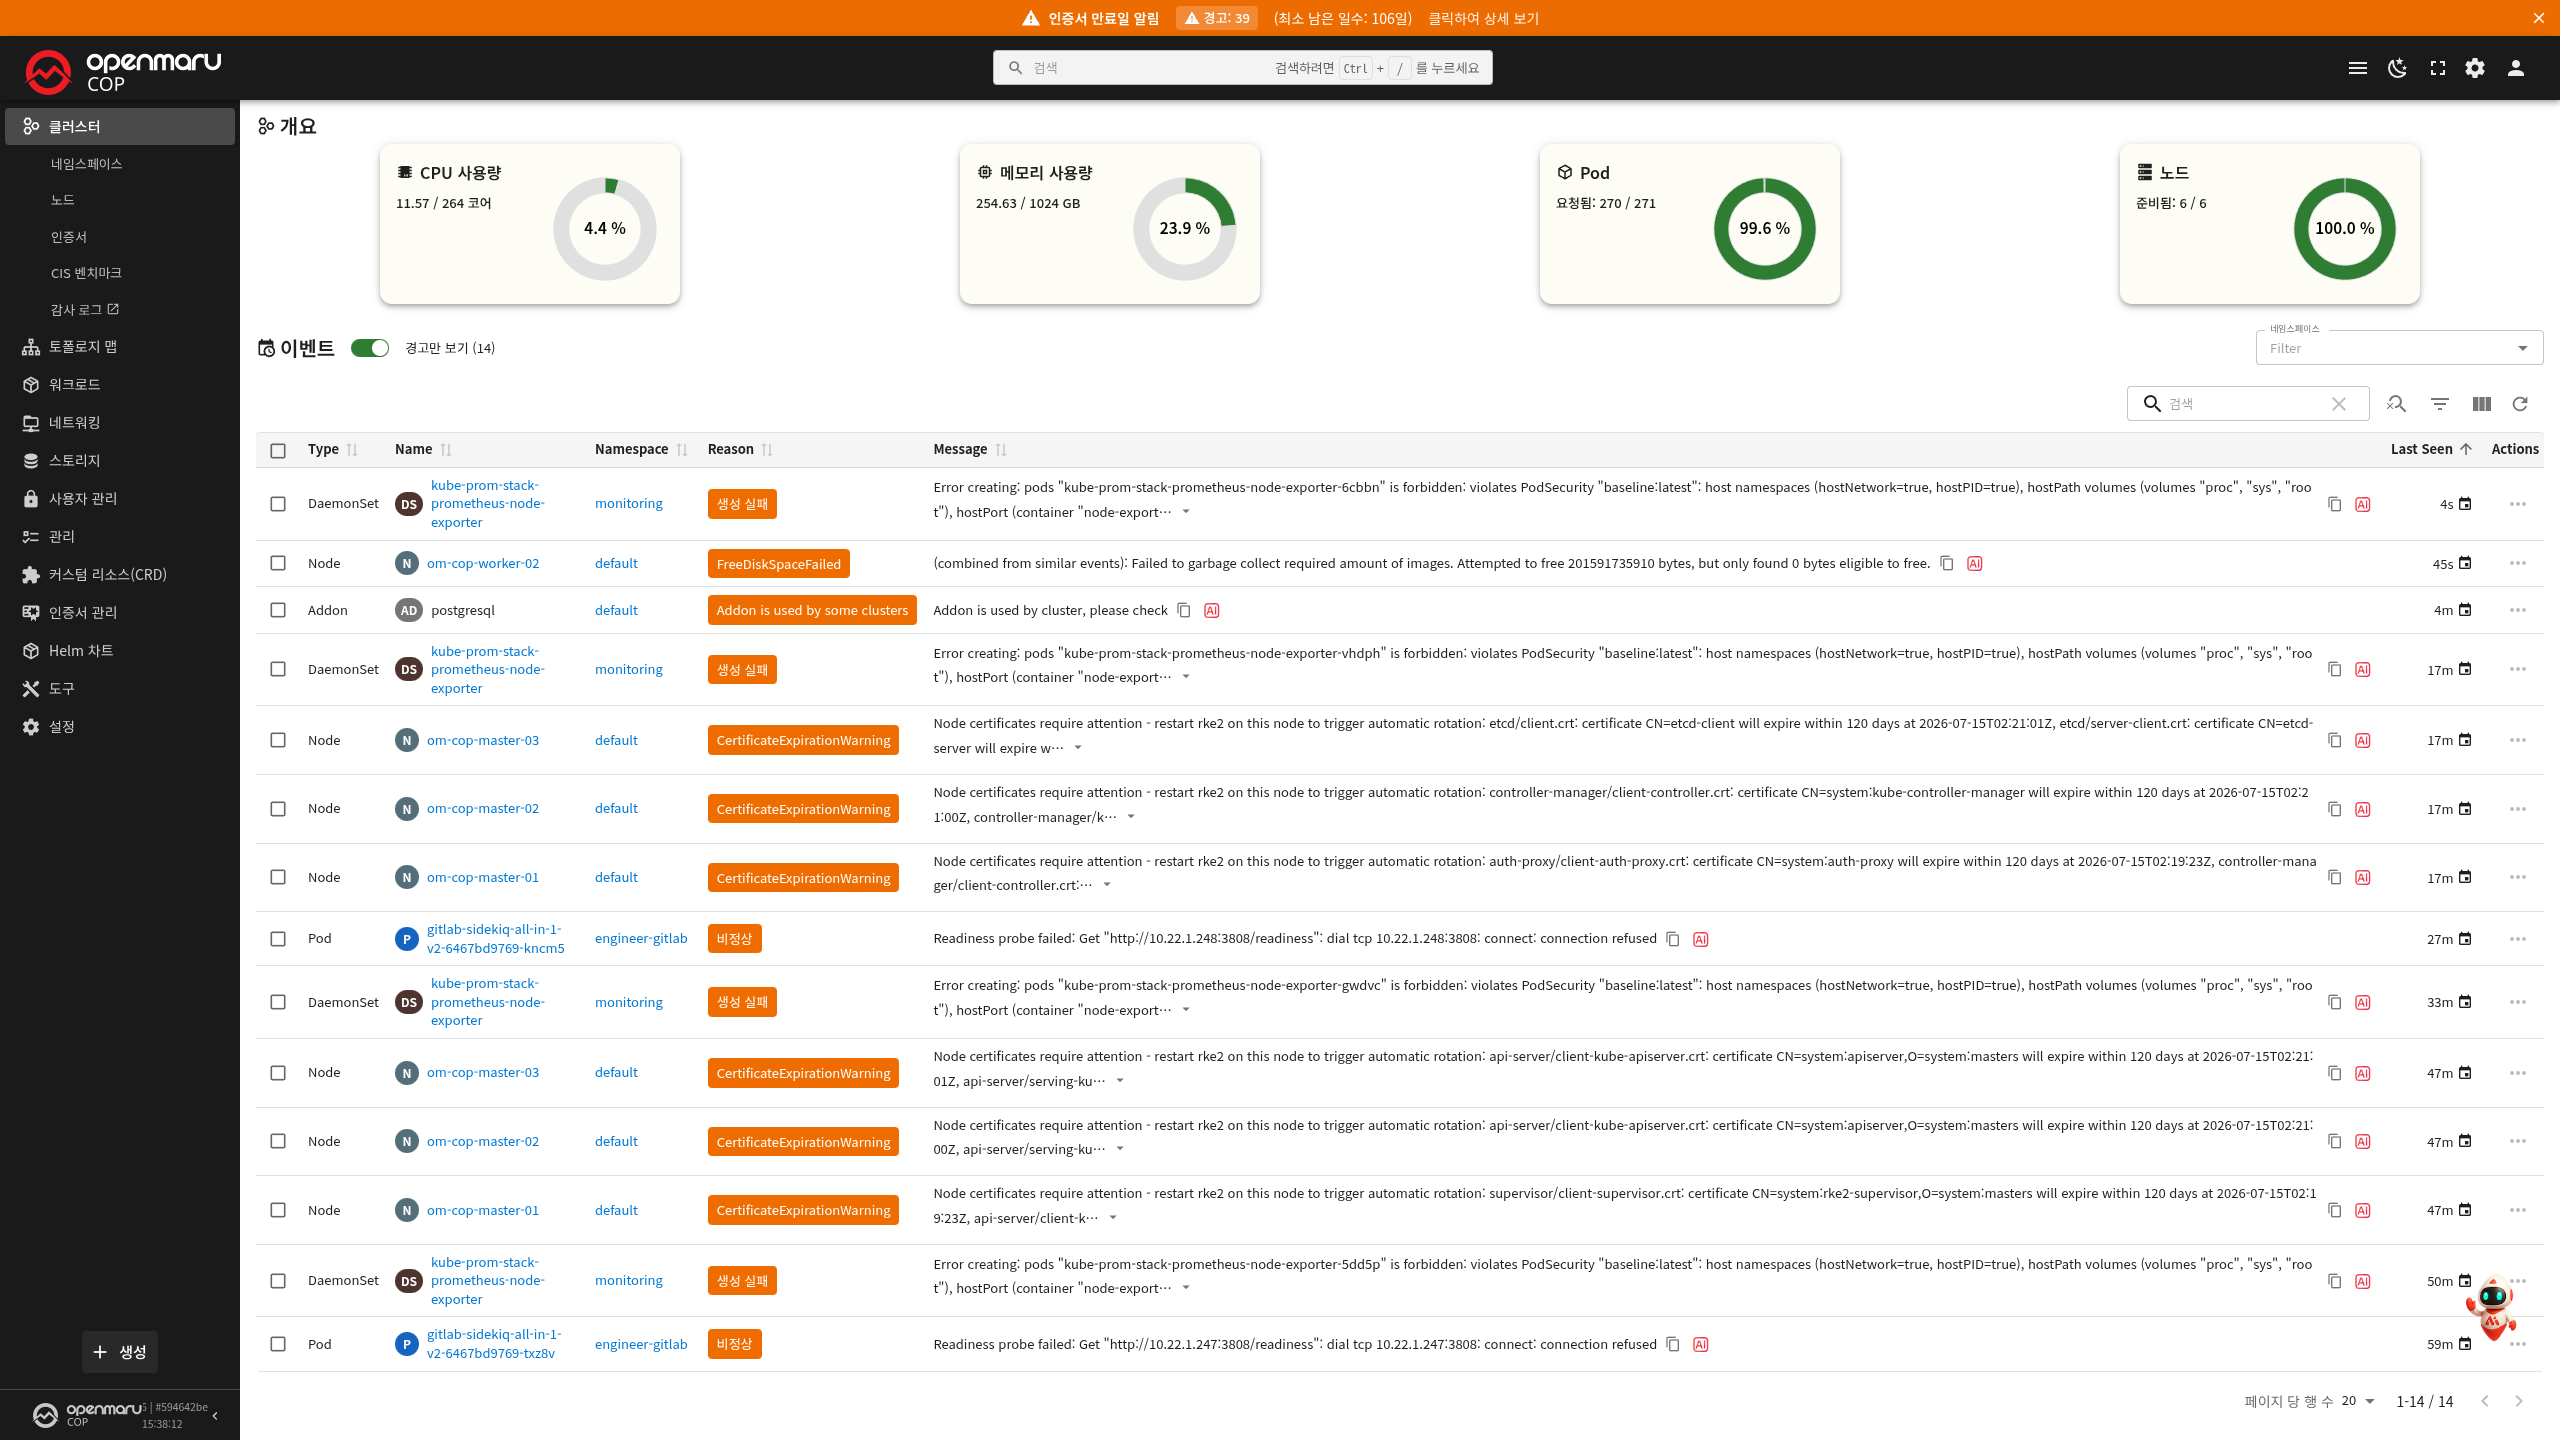
Checking in the Console: The Cert-manager menu of the OPENMARU COP Console lists the issued certificates with their state, and shows the ClusterIssuer and Issuer configuration.
Copying Files and Folders out of a Pod
kubectl cp <namespace>/<pod-name>:/path/in/container ./local-path

# Specifying a container
kubectl cp <namespace>/<pod-name>:/path/in/container ./local-path -c <container-name>
Sending a Local Folder into a Pod
kubectl cp ./local-path <namespace>/<pod-name>:/path/in/container
ℹ️ Note:
kubectl cpcan be slow when transferring large directories. Where files have to be exchanged repeatedly, using a PVC (a shared volume) is recommended.
Running a Command inside a Pod (exec)
# Run a one-off command
kubectl exec <pod-name> -n <namespace> -- ls -al /app

# Check standard output only, without an interactive session
kubectl exec <pod-name> -n <namespace> -- cat /app/config.yaml
Scaling Pods Up and Down
# Scale to a particular count
kubectl scale deployment my-app -n my-app --replicas=5

# Check the current replica count
kubectl get deployment my-app -n my-app

# Configure automatic scaling with the standard HPA (scales with production traffic)
kubectl autoscale deployment my-app -n my-app --cpu-percent=70 --min=2 --max=10
ℹ️ For scaling based on scheduled times, refer to 3.1. OPENMARU COP Operating Procedures - Autoscaling (HPA/CronHPA) Configuration.
Application Build Management Commands
# Run an S2I build
s2i build <source_location> <builder_image> <result_image>:<tag>

# Sign in to Harbor (the first time, or when the credentials expire)
docker login registry.{sub_domain}.{domain}.{TLD}:8443 -u admin -p ${HARBOR_PASSWORD}

# Push the image to the registry
docker push registry.{sub_domain}.{domain}.{TLD}:8443/apps/<image_name>:<tag>

# Update the Deployment image tag (triggers a rolling update)
kubectl set image deployment/my-app my-app=registry.{sub_domain}.{domain}.{TLD}:8443/apps/my-app:<new_tag> -n my-app

# Check the deployment (rollout) state
kubectl rollout status deployment/my-app -n my-app

# Check the rollout history
kubectl rollout history deployment/my-app -n my-app

# Roll back to the previous version
kubectl rollout undo deployment/my-app -n my-app
Cleaning up Deployments, Builds, and Images
# Clean up unused container images on the node (containerd)
crictl rmi --prune

# Limit the size of the node journal log
journalctl --vacuum-size=1G

# Unused (untagged) images in Harbor are cleaned up with the
# Administration > Garbage Collection schedule in the Harbor console
Setting Deployment Resource Limits
resources:
  requests:
    cpu: "500m"
    memory: "512Mi"
  limits:
    cpu: "1000m"
    memory: "1Gi"
# Patch resource limits onto an existing Deployment
kubectl patch deployment my-app -n my-app --type='json' \
  -p='[{"op":"replace","path":"/spec/template/spec/containers/0/resources","value":{"limits":{"cpu":"1000m","memory":"1Gi"}}}]'
Configuring Pod Autoscaling
kubectl autoscale deployment my-app -n my-app --cpu-percent=70 --min=2 --max=10

# Check the created HPA
kubectl get hpa -n my-app
kubectl describe hpa my-app -n my-app
When using CronHPA alongside it, refer to 3.1. OPENMARU COP Operating Procedures.
Setting a Project Quota
apiVersion: v1
kind: ResourceQuota
metadata:
  name: my-app-quota
  namespace: my-app
spec:
  hard:
    requests.cpu: "8"
    requests.memory: 16Gi
    limits.cpu: "16"
    limits.memory: 32Gi
    pods: "50"
kubectl apply -f resourcequota.yaml
kubectl describe resourcequota my-app-quota -n my-app
Setting Pod/Container Limits for a Project
apiVersion: v1
kind: LimitRange
metadata:
  name: my-app-limits
  namespace: my-app
spec:
  limits:
    - type: Container
      default:
        cpu: "500m"
        memory: "512Mi"
      defaultRequest:
        cpu: "250m"
        memory: "256Mi"
      max:
        cpu: "2"
        memory: "4Gi"
kubectl apply -f limitrange.yaml
kubectl describe limitrange my-app-limits -n my-app
Clearing a Pod Stuck in Terminating
When a pod stays in Terminating for a long time, check the following.
# Force termination (a last resort -- data consistency can be affected)
kubectl delete pod <pod-name> -n <namespace> --grace-period=0 --force
When a PV is stuck in Terminating, the finalizer may have to be removed.
kubectl patch pv <pv-name> -p '{"metadata":{"finalizers":null}}'
⚠️ Caution: Forcibly removing a finalizer can leave the volume on the actual storage backend uncleaned (undeleted). Check the actual volume state together with the storage administrator before proceeding.
Creating a New Project
# Create the namespace
kubectl create namespace my-app

# Apply the resource quota and limit range together
kubectl apply -f resourcequota.yaml
kubectl apply -f limitrange.yaml

# Apply the CIS security level label
kubectl label namespace my-app pod-security.kubernetes.io/enforce=restricted

# Create the ImagePullSecret for registry access
kubectl create secret docker-registry harbor-secret \
  --docker-server=registry.{sub_domain}.{domain}.{TLD}:8443 \
  --docker-username=admin \
  --docker-password=${HARBOR_PASSWORD} \
  -n my-app
ℹ️ For creating it through the Console or the Jenkins
00-NEW-PROJECTjob, refer to 3.1. OPENMARU COP Operating Procedures - Creating a Project (Namespace).
Checking Container Memory and CPU in a Pod
# Resource usage of all pods in a namespace
kubectl top pod -n <namespace>

# Resource usage of all pods in the cluster (sorted by memory)
kubectl top pods --all-namespaces --sort-by=memory

# The detailed resource settings and usage of a particular pod
kubectl describe pod <pod-name> -n <namespace>
What to Do When the Git Repository Address Changes
When the address of an application's source repository (GitLab, for example) changes, the following also have to be updated.
- Update the
GIT_URLparameter of the Jenkins job - Update the repository URL of the ArgoCD application
argocd app set my-app --repo https://gitlab.{sub_domain}.{domain}.{TLD}:1080/new-group/my-app.git --grpc-web
- Re-register the existing webhooks (GitLab to Jenkins/ArgoCD)
- Update the Git credential secret if needed
⚠️ Caution: After changing the repository address, always run one manual build or synchronization to confirm that the pipeline still works.